

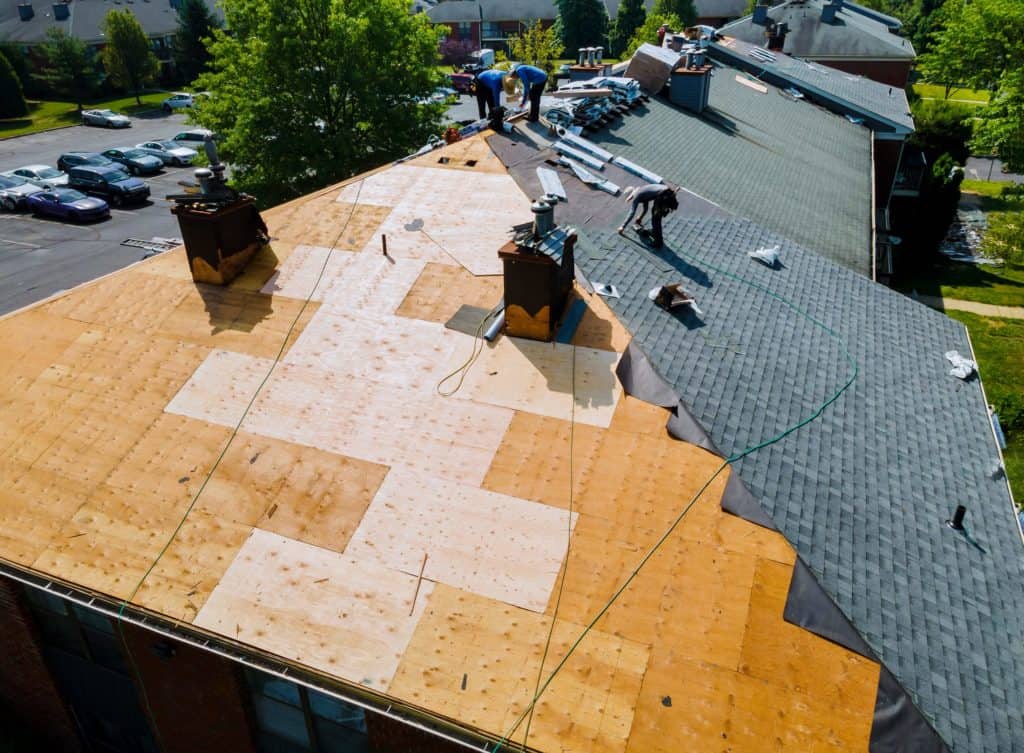
If your home’s roof cap shingles are starting to show signs of wear and tear, you may be wondering how to replace them. Luckily, there are many simple steps that you can take to quickly and easily replace your cap shingles. The first step is to remove the nails and cap from the existing shingles. To do this, lift the top ridge cap and use a hammer to remove the old nail. Next, insert a new nail beside the hole. Ensure that the new nails are in the proper setting to prevent leaks. Finally, seal the new nails with polyurethane or silicone caulk.
Roofing cement
Roofing cement is a substance used to replace the cap shingles on your roof. It is applied to the underside of the cap shingles and needs at least two hours to harden. Depending on the type of cement used, it can range in thickness from a quarter to one-half inch. Some kinds of cement have thicker applications of layers and should have room for drying between coats.
Roofing cement is available in a variety of colors. Some homeowners opt to paint the cement to match their home’s exterior. This isn’t necessary, but it can create a more cohesive look. You should consult a roofing contractor if you have any doubts about the safety of the cement.
If you’re replacing the cap shingles yourself, it’s essential to use nails long enough to penetrate the extra layers of the roof and secure the cap shingles to the roof deck. Use nails that are at least two inches long. Using nails shorter than this can lead to leaks.
A professional roofing contractor can recommend the correct type of roofing cement for the job. There are two types of roofing cement: dry and wet. It is essential to use the right one for the job. It should be applied thinly and allowed for at least 12 hours to dry. Depending on the severity of the damage, you may have to apply more than one layer of roofing cement. Some large holes may require additional material, such as fiberglass or polyester fabric.
Roofing cement is easy to apply. The material is ideal for emergency repairs, as it can prevent severe damage to your home during the rainy season. Roofing cement is best for emergency repairs because it adheres to wet surfaces. Professionals use it to fix many types of roof damage, from cracks and holes to leaks and rust.
The process of installing roof cap shingles requires two steps: installing the shingles and applying roofing cement. Roofing cement is an adhesive replacement for roof cap shingles. This is also a tool to seal seams.
Roofing nails
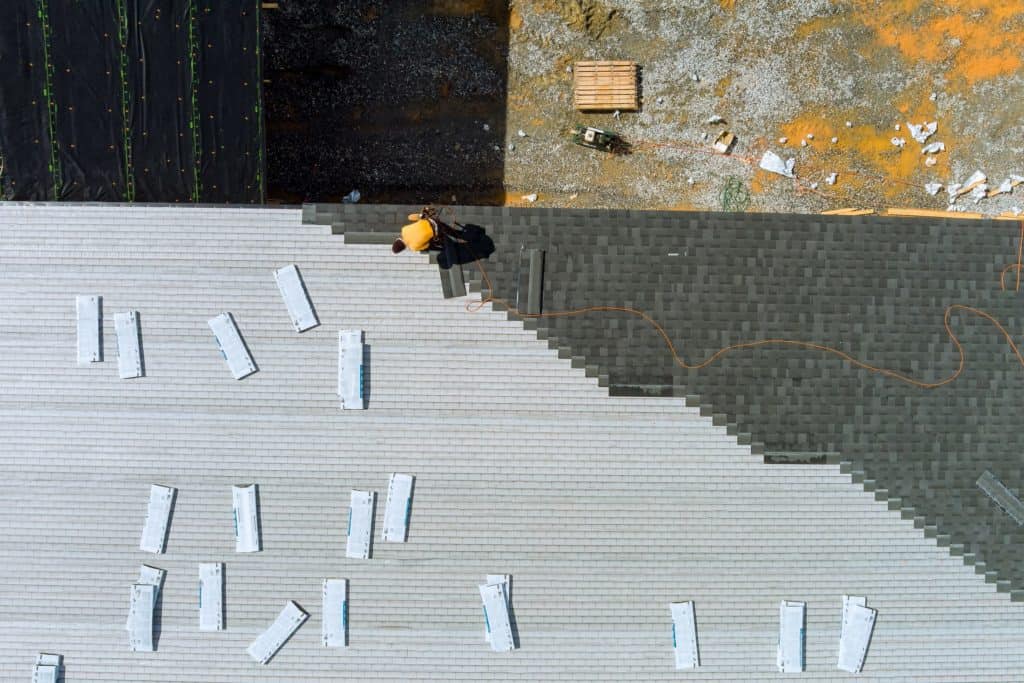
There are a couple of basic guidelines for replacing roof cap shingles: first, nail them at the hip and ridge of the roof. In addition to that, nails should be placed 1/2 inch below the sealant strip. It is also important not to drive the nails at an angle. Otherwise, the nail head will be exposed and probably let water in.
Before applying the shingles, measure the distance between the two shingles and make sure they are the same length. Also, you must ensure the shingles overlap to cover the nails. Lastly, use roofing cement to cover the nail heads. In addition to that, you’ll want to use a hammer to drive the nails in.
To replace a cap shingle, you’ll need a standard pry bar, a flat pry bar, and roofing nails that are 11/4 inches long. To remove a nail, pry the first row with a pry bar. Four nails secure the first row of shingles. The next row of shingles will pass through the course below.
If your shingles have improper installation, you’ll need to use roofing nails with a 2-inch diameter and a 5/8-inch depth. This will ensure that your roof is solid and securely attached. You can check the nail depth during an on-roof inspection.
It’s essential to have good ventilation when you’re replacing roof cap shingles. Having the proper ventilation is crucial for your safety. It will keep your shingles from blowing off. EIt’snsuring your new shingles are well-protected from the weather elements is also essential.
It’s essential to understand the different types of roofing nails available. For your new roof, you may use galvanized nails, stainless steel, or aluminum nails. Make sure to follow all the guidelines to ensure proper installation. You should also ensure you put the nails in the correct position on each shingle.
You can use roofing sealant if you don’t want to expose the shingles under the roof. This will help protect your roof while preventing water from seeping in and causing leaks. You can buy roofing sealant for about $4 per 10 oz. Tube and follow the instructions on the tube.
Pre-formed or perforated ridge cap shingles
A ridge cap is the top shingle of a standard asphalt shingle roof. It is usually 12×12 inches and tapered. Installing a ridge cap requires a few steps. First, you must ensure the shingles are level and on the ridge. After that, nail the ridge cap onto the roof with three-inch nails.
You can also use pre-formed or perforated shingles for the ridge. To install the new shingles, you can cut the shingle in half or use the laminated half of a thicker shingle. This method is similar to installing 3-tab shingles.
Inspect the nails used for the ridge cap. Make sure that they penetrate the required depth of the plywood sheathing. It is best to inspect these nails during an on-roof inspection. Inspecting the nails will help you determine whether the shingles got proper installation.
You’ll probably want to use a specyou’lld ridge cap shingle if your roof has ridges and hips. These shingles are perforated or strip-like and fit over your shingles more tightly and uniformly. If you don’t have these, your shingles widon’tick up through the second layer of laminate, making the shingle look sloppy.
Ridge cap shingles are relatively simple to install. You’ll need a utility knife or larYou’llps to cut them. You can then nail the ridge cap shingles to your roof using one nail per side. Roofing cement and roofing nails are essential tools for this project. When installing a ridge cap, you need to know the starting and ending points of the ridge. Generally, you want to start at the north end of the ridge.
You can also add a tar strip at the north or south end of the ridge to increase the adhesion. This will help the shingles adhere better against strong winds. Remember that ridge caps become softer and more flexible during warmer temperatures, so be careful to protect yourself. Remember to wear you’re protective gear and work safely.
If you use a specialized ridge cap, you’ll want to you’re it is attached to a tar styou’llhis will help keep the shingles from blowing off during a hurricane or windstorm. It will also increase your warranty against artistry problems.
Choosing the right shingle
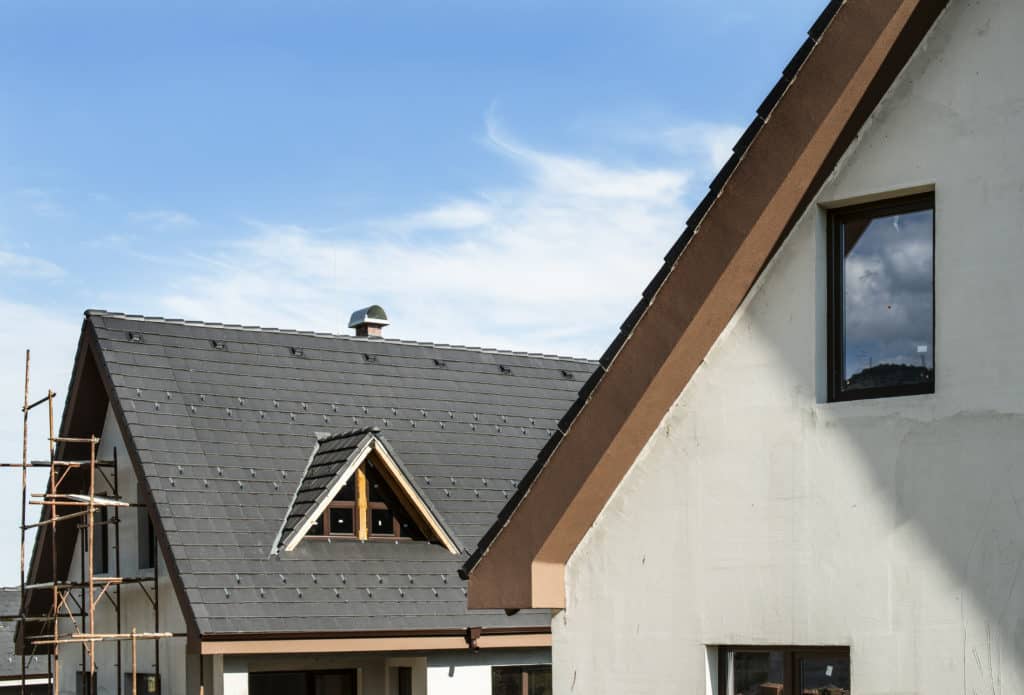
Choosing the right roof cap shingle is essential for your roof project. The right choice can make a massive difference in the appearance and longevity of your roof. Architectural cap shingles have a smooth concave surface that helps shed water, snow, and dry leaves. They are an excellent option for those looking to reduce their roof maintenance costs.
Some shingle manufacturers offer specialty products like hip and ridge caps. IKO, for example, makes high-quality ridge and hip cap shingles. Their UltraHP IR shingles are tested against UL 2218 and have a Class 4 impact-resistance rating. This rating can help you receive a discount on your home insurance premiums. However, it does not imply a warranty.
Before installing your new roof cap, choose the shingles that match the ridge well. Whether you choose architectural or standard shingles, the fitting cap can distinguish between a good-looking roof and a poorly performing one. The fitting cap can help to keep the shingles in place and help protect the roof. The fitting cap also protects your home from ultraviolet radiation. ftingstiguish
Different roofing materials will provide different benefits and last for different lengths of time, depending on where you live. In addition to choosing the right color for your roof, you should consider your home’s location. If you live in the Southwest, homes want to avoid using shingle types that suit the Mideast.,
Choosing the right roof cap shingle for your home is integral to roof restoration. Using the right roof cap shingle can increase the look and value of your roof. Choosing a color that will complete the color of your existing shingles is essential. This way, you can create an attractive exterior.
