

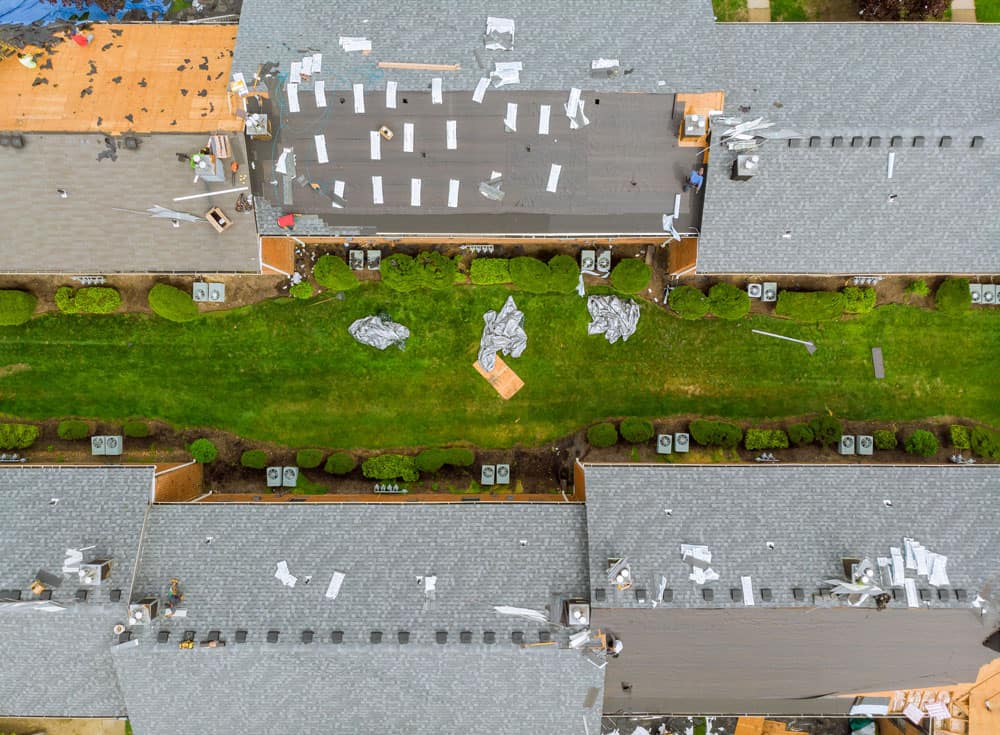
Aerial view of home roof construction site working on the roof sheeting
If you plan to build a home roof, you’ve come to the right place. This article will guide you through installing shingles, sheathing, venting, and roofing underlayment. Follow along, and you’ll be well on your way to having a new roof!
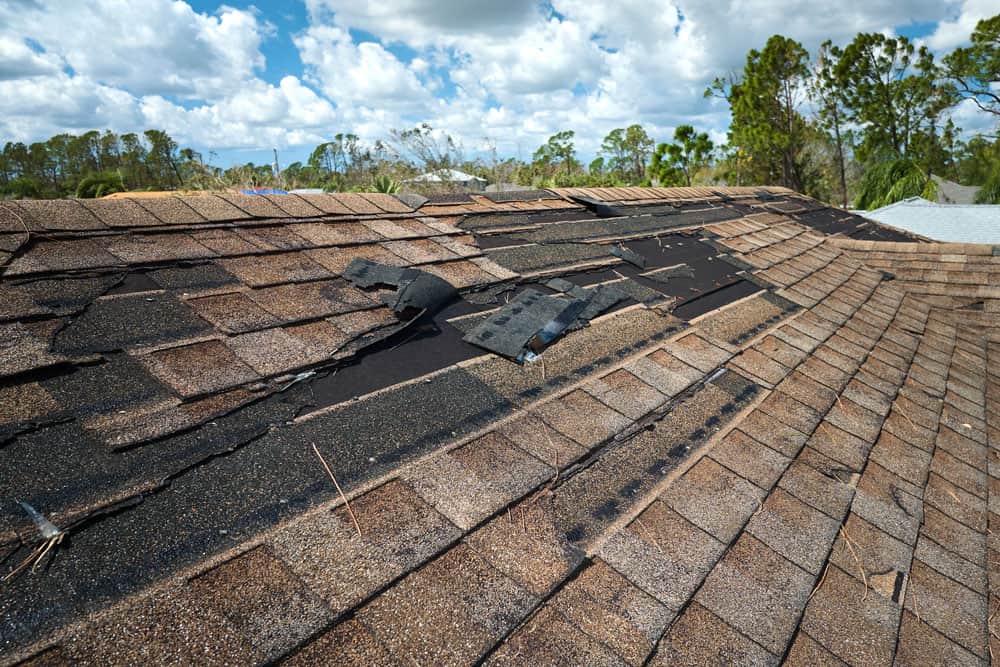
Tear off the old roof
Tearing off the old roof is one of the first steps in building a new roof. It is a big project and requires the use of special tools. The process can be accelerated by lining up a crew and investing in specialty tools. Sometimes, you may need to secure a building permit to complete the job. If you need more clarification, consult with a building inspector first.
There are two main types of roofing replacements: tear-off and replacement. The former involves removing the old roof, shingles, decking, and underlayment. Then, new roofing material is installed over the old materials. The process can be completed in as little as a day.
Taking the old roof off first allows the contractor to inspect the structure of the building and repair any damages. Furthermore, it allows him to identify signs of mold, rot, or leaks.
Clean Your Gutters & Downspouts
Gutters are often overlooked, but they need attention just like any other part of your home. A clogged gutter can cause water damage that will eventually lead to rot in wood or drywall and mold growth. This is why homeowners need to get their gutters cleaned every year or two to avoid an emergency.
Cleaning a roof from top to bottom should be done by professionals who know what they’re doing. Appropriate cleaning materials and tools make cleaning your gutters and downspouts easy.
Install the drip edge
Before installing a drip edge, it is necessary to determine the spacing of the drip edge. Using a maximum spacing of 12 inches on the center is generally recommended. However, you can also use a smaller spacing, such as four inches in the center, if you are building a roof in a high wind area. It is also essential to consider your area’s building codes before installing a drip edge.
Whether you are building a new house, renovating an old building, or renovating an existing structure, the drip edge is an important feature. The requirements for installing a drip edge will vary depending on your local building codes, the age of the building, and the use of the building.
Installing a drip edge when building a roof will help protect your roof from water damage. It will help prevent blow-under leaks during wind-driven rains. It will also act as a support for the shingles. Without it, high winds could pull your shingles off the roof.
Roll out the underlayment
Underlayment is the first roofing material that is fixed to the roof deck. It is significant for low-sloped or water-prone roofs. Different types of underlayment are designed for different weather conditions. Some are made to handle heavy rainstorms, while others are better for snow and ice. Some are also made to accommodate valleys, chimneys, and vent pipes.
When installing the underlayment, you should ensure it overlaps the upper and lower courses. Typically, you should overlap the upper course of felt by two inches. It would be best if you also were sure that the underlayment reaches as far as the adjacent walls. Once you’re done installing the underlayment, you should nail the remaining course of the felt to the rafters.
Besides preventing moisture, underlayment protects the roof deck from damage from the roof’s resins. It also prevents unevenness from showing through the shingles. For this reason, most roofing contractors apply roofing felt before they lay down the shingles. Manufacturers of specific roofing materials may also recommend special undergarments.
Cover the roof with felt paper
Felt paper protects the roof during installation and provides backup protection for the home in case of shingle failure. There are two types of felt paper: standard and ice & water shield. Standard felt paper covers the rest of the roof. Ice & water shield is designed to protect the roof’s vulnerable areas from ice dams.
Synthetic roofing underlayment is lighter and thinner than felt but can cover more area. It’s more prone to ripping, but it also helps relieve the weight of the roof. Felt paper is cheaper than synthetic underlayments, but the cost can increase depending on the roof size.
Depending on your specific needs, Felt paper can be found in different widths. The typical width is 36 inches, but you may need a smaller size for delicate work. A more comprehensive felt layer can cover a larger area and have fewer seams, which means there’s less chance of a weak point in the roof.
Apply starter shingles
The first step in building a roof is to apply the starter shingles. The starter shingles should be laid with their bottom edge flush with the waterproof shingle underlayment. The shingles should be nailed along a line not exceeding four inches over the eave line, with the overlap of the drip edge equal to half an inch or less. Next, install the ridge cap shingles.
When applying starter shingles, make sure that the length of each strip is longer than the length of the first strip. If there is more than one strip, offset each row by a distance of 100mm. This will prevent the starter strips from contacting the shingles beneath.
Starter shingles are asphalt-based shingles that lay the foundation for a roof. They help dry the roof by waterproofing the eaves and raking precipitation off the roof. They also form a solid seal between the roof deck and eave starter courses. Using starter shingles can help you save time and avoid complications while building a roof.
Install the shingles
The first step in installing a roof is to take accurate measurements. You should measure the length and width of the roof. Then, multiply those measurements by three to find the square-foot area. You’ll also need to divide this number by 100 to get the squares needed. Once you have this measurement, you can accurately determine the number of bundles needed.
When installing the first course, the shingles should overlap on the eave and rake edges and be flush with the chalk line. Next, you’ll install the second course, which continues the first. When installing the second course, you’ll want to trim the excess shingles, so they don’t overlap.
You’ll need to cut the shingles to fit around vents and structures, so make cutouts to fit correctly. You can use roofing cement to secure the shingles around odd shapes but cut extra shingles, so you’re not left with any mistakes.
Install the flashing
Before you lay your shingles, you should install the flashing. The shingles should overlap the flashing by three inches, and you should be sure that each row of shingles is secured over the flashing. The flashing should then be nailed in place on each side of the top edge of the roof.
When building a roof, there are several types of flashing. Roof wall flashing covers the larger joints of the roof and prevents water from penetrating the wall. For example, chimney flashing is necessary to direct rainwater away from the chimney and roof walls. Depending on the flashing you use, you may need to hire a professional to install it.
Valley flashing is used in the “valley” section of the roof. This type of flashing directs water away from the roof’s edge and into the gutter. In addition, drip edge flashing is used on skylights and chimneys. It protects the skylight from water and improves the seal against outside elements.
Installing a ridge cap
Installing a ridge cap is an integral part of your roof construction. It is essential to ensure that it hangs over the ends of the roof by at least 1/2 inch. Some roofing systems require the ridge cap flush with the roof edge. You can usually find instructions for ridge cap installation online.
Installing a ridge cap follows the same process as installing a ridged panel. However, the cap is unrolled instead of laid down in three-foot pieces. It should be installed flush with the ridge but with some overhang. It should also be centered over the ridge so it doesn’t interfere with the sealant tape.
Once you have installed the ridge cap, attach it to the roof with screws. Ensure that the screws extend past the edge of the closure material on both sides. Depending on the type of cap that you purchase, you may have to overlap the cap by 6 inches to get a proper fit.
You can choose a ridge cap made of metal or another material that fits your roof’s style. A ridge cap protects the ridge line from wind and rain, which can damage the roof. They can wear down faster than other roofing elements, so replacing them at the appropriate time is essential.
A ridge cap also serves as a vent, improving attic ventilation and home energy efficiency. When installed properly, it will fit over a ridge vent that is already installed. If you don’t have a ridge vent, you can cut a small hole along the roof ridge. After that, you can install a plastic or metal ridge vent over the hole. Ridge caps are also available as prefabricated units.
Seal it up
After the roofing felt is installed, and the shingles are in place, it’s time to seal all the exposed nails. This will help to prevent any water or debris from getting under the shingles and causing damage. We don’t recommend silicone sealers, as they don’t hold up well over time.
